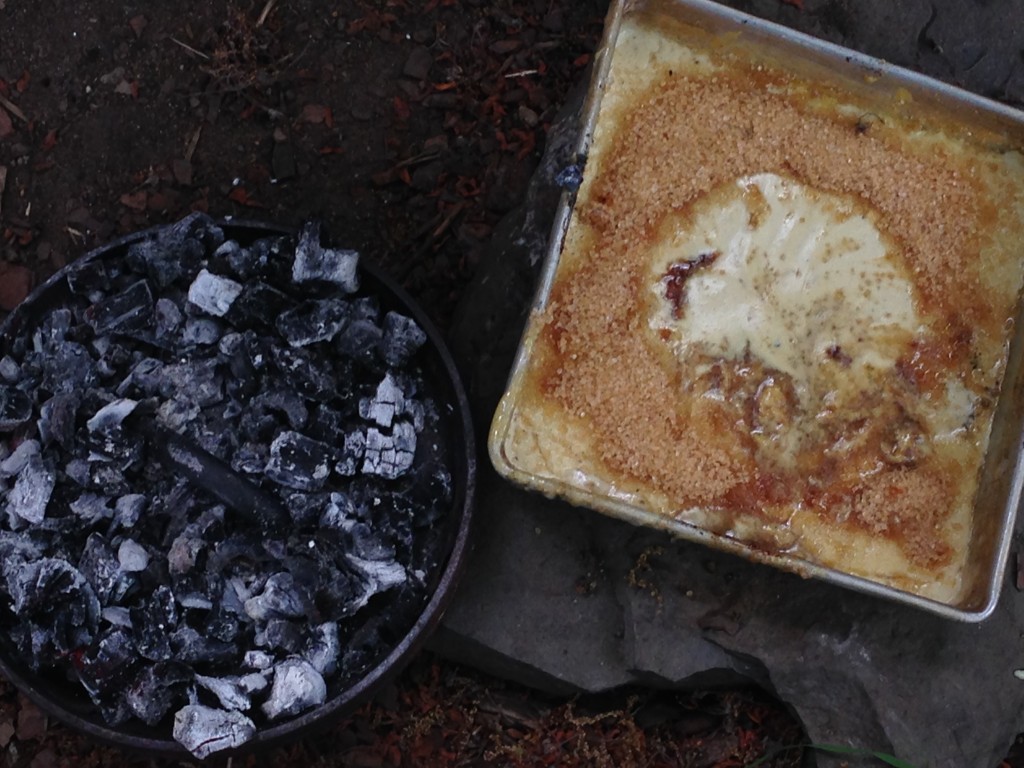
 We made a mess.
This spring, I led my annual “Campfire Cuisine Beyond Hotdogs: An Introduction to Hearth Cooking” classes in Brooklyn, to an enthusiastic and diverse group of students. I decided to try out a new/old recipe: Burnt Cream, the medieval ancestor of creme brulee, from the book Cooking with Fire: From Roasting on a Spit to Baking in a Tannur, Rediscovered Techniques and Recipes That Capture the Flavors of Wood-Fired Cooking.
The History
 Left: A salamander, for sale from Jas Townsend and Son.
First a word on Cooking with Fire: if you like playing with fire, get this book. It starts with toasting marshmallows and progresses all the way to building a mud oven. It’s thorough and well written and I highly recommend it.
When paging through my copy, I came across a recipe I’ve wanted to try for a while: a 17th century English dessert, burnt cream. It’s an egg custard, flavored with a lemon peel and a stick of cinnamon (not vanilla, a new world fruit) and topped with a thick layer of sugar. The sugar was seared into a carmelized crust with a tool called a salamander, a flat disk made of iron on the end of a long handle, heated in the fire.
We know this dessert better as crème brûlée. How it a got a French name, no one is certain. Perhaps in one of England’s periods of Francophilia, the dish was rechristened. Perhaps it was the French, who reinvented the dish to incorporate their fanatical love of vanilla. In America, burnt custard appears as early as 1824 in Mary Randolph’s cookbook, but achieved astronomical success in the New York dining scene in the 1970s. In 1985, the New York Times wrote: “If there were a New York dessert of the year award, the 1985 ribbon would go to creme brulee, or burnt cream, which has appeared on countless menus in both French and American restaurants. I am not sure how a dish that has been consumed for centuries in Europe without great fanfare… has suddenly achieved such fame in America, but it has.”
The Recipe
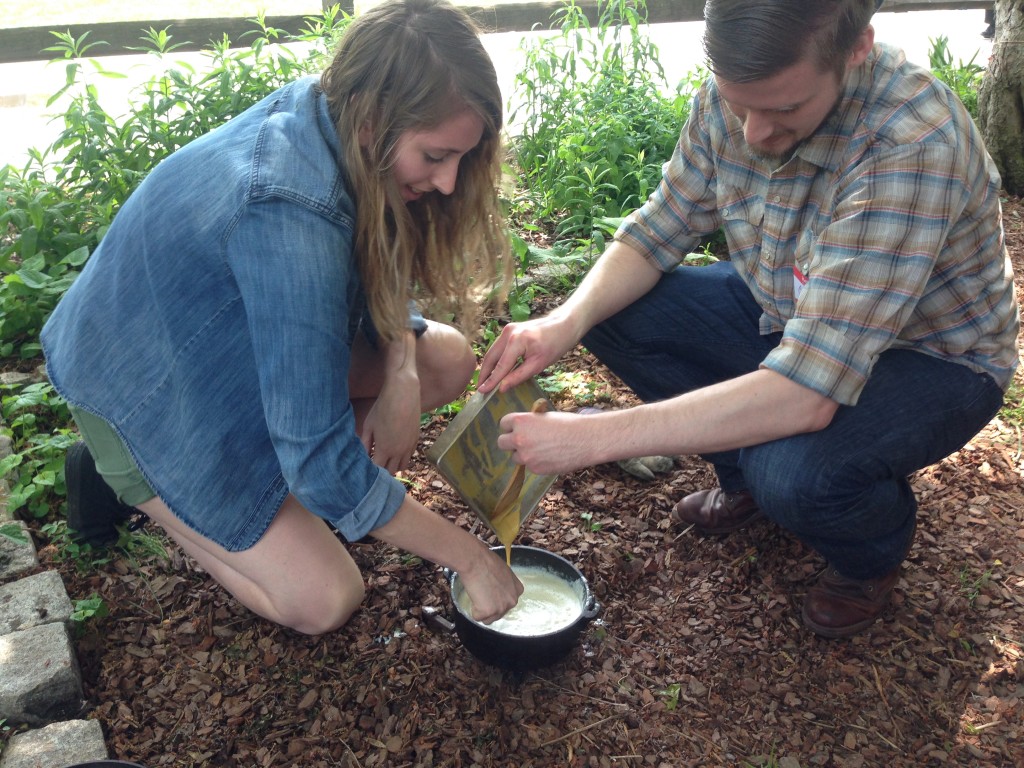 Students Julie McMahon and CJ Knowles make the custard.
Brunt Cream
Adapted from Cooking with Fire: From Roasting on a Spit to Baking in a Tannur, Rediscovered Techniques and Recipes That Capture the Flavors of Wood-Fired Cooking
This recipe is intended to be prepared over an open fire, but is easily adapted for a modern kitchen.
2 cups whole milk
1 cup heavy cream
1 lemon peel (white pith excluded)
1 3-inch cinnamon stick
2 tablespoons flour
1/3 cup light brown sugar
3/4 cup demerara sugar
5 egg yolks
1. Slowly heat the milk, cream, lemon peel, and cinnamon in a heavy saucepan over low heat; do not boil. In a medium bowl, whisk together the flour and 1/3 cup sugar. Whisk the yolks in until smooth.
2. When the milk mixture is steaming, discard lemon peel and cinnamon. Pour a steady, thin stream of hot milk into the eggs, while whisking the eggs constantly. Once the milk has been incorporated, return the mixture to the heating vessel, and cook over a low heat until the liquid thickens. If you dip a wooden spoon in the custard, it should create an even coating that holds a line when your draw your finger through it. Chill at least three hours.
3. Strew the top with the remaining sugar. Heat your salamander until it glows red; carefully touch the flat of the hot salamander to the sugar until molten. Or use your tiny kitchen blowtorch. Let cool just until the sugar hardens, and serve.
The Results
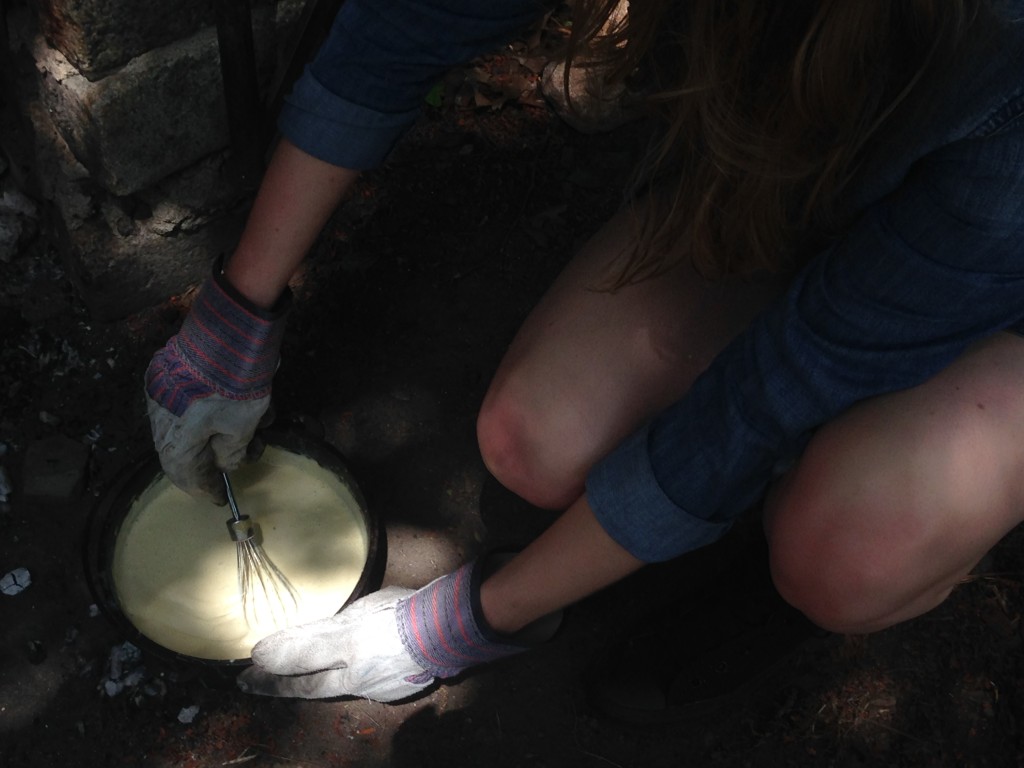 Thickening the custard.
I handed this recipe over to my students, and although I was there to offer direction, they had it under control. Making a custard over burning hot coals, 17th century style, is no easy thing. They totally nailed it, and the lemon-cinnamon custard was quite tasty. But we did have some technical difficulties, which were completely my fault.
See, I don’t actually have a salamander. I decided to try this recipe at the last minute, so I didn’t even have time to look for one. I figured we would find something to take its place.
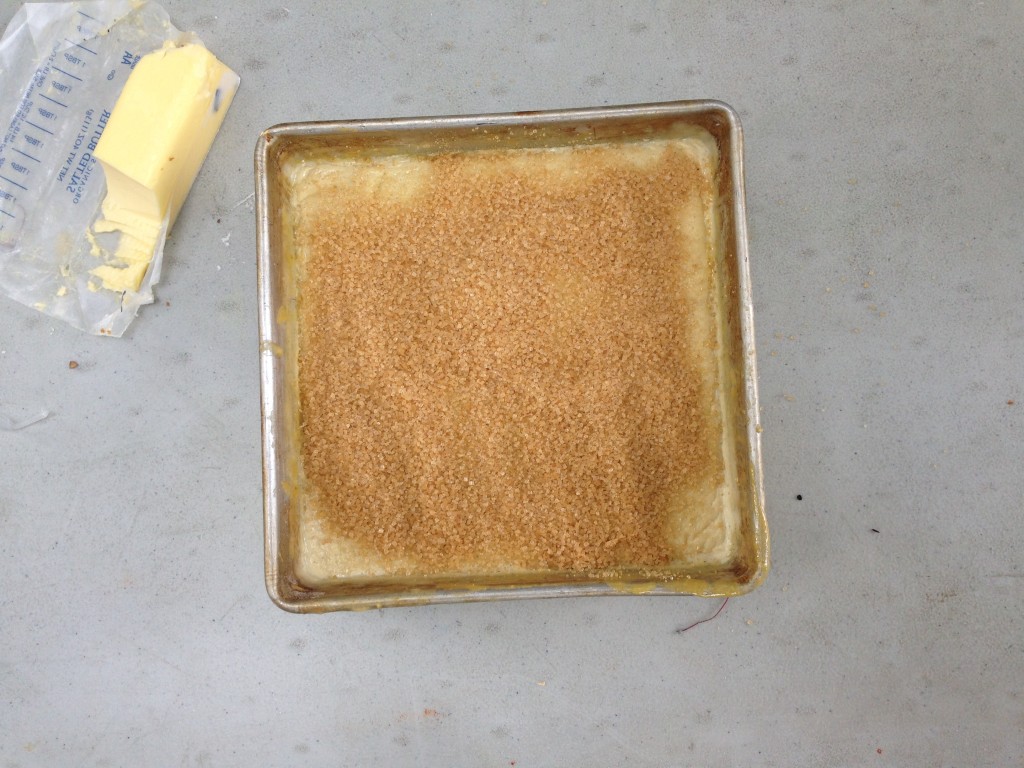 A cream about to get burnt.
We first tried the lid to a dutch oven, covered in hot coals, but it was just a little too big to fit down in the custard tin. Then we tried an axe, which got nice and hot, but wasn’t big enough to be practical. Finally, we tried the bottom of a metal bowl, which was the right size, but would not get hot enough to sear the sugar. So, fail, on my part. We ate the custard anyway, and it tasted heavenly.
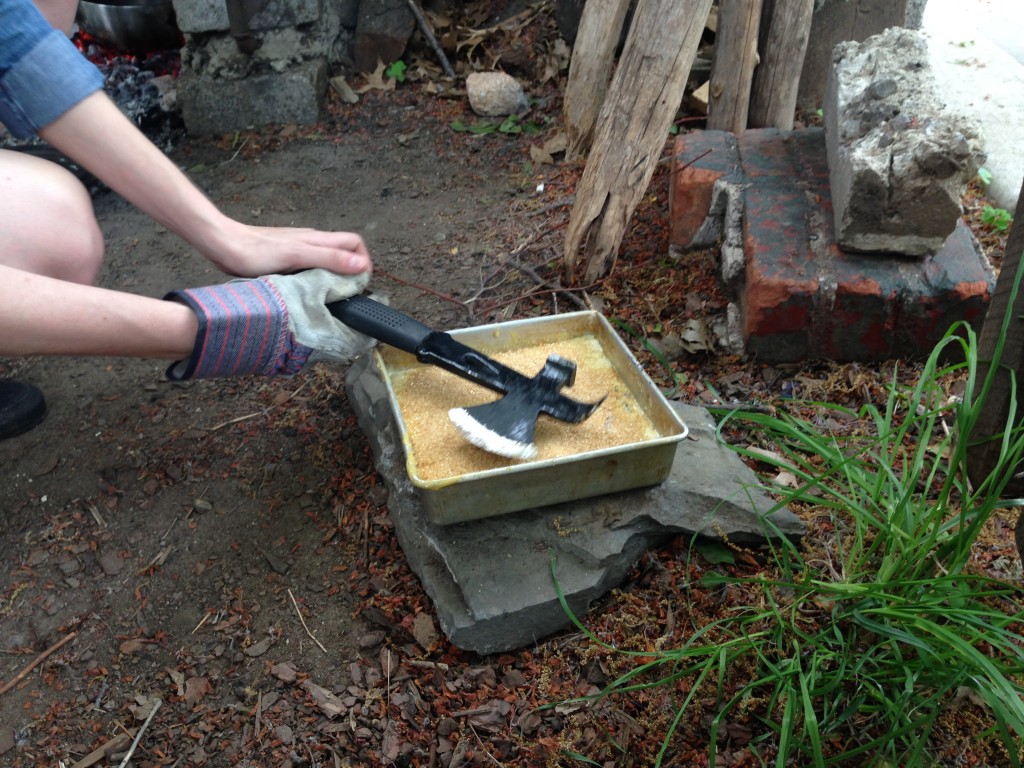 Creative, but not working.
When I give this recipe another whirl with a proper salamander, I’ll update this post!
 An excellent maple ice cream.
 Homemade maple syrup, light and dark, and maple sugar.
 Maple Parfait Recipe
 The eggs after the hot maple syrup is added.
 Maple Marshmallow Pie Recipe
 Maple custard pie